A bulk image resizer can change the dimensions of hundreds of files at once. But getting a file to the requested width and height does not necessarily make it ready for an ecommerce site.
The product may be stretched. The tool may preserve the image aspect ratio but miss the required dimensions. It may add black bars to fill the canvas, soften a low-resolution source, or force you to repeat the job for every output size.
To find out what popular tools actually deliver, we tested 4 bulk image resizers on the same batch of product, lifestyle and on-model photos. Every tool received the same inputs and the same primary target: 3000 × 4000 pixels as well as a square 1:1 aspect ratio resize. We then compared the dimensions, subject’s visual integrity, background handling, upscaling and number of outputs each tool could generate at once.
The result revealed an important distinction: resizing a file is easy. Preparing finished ecommerce assets is a different job.
Quick verdict: Basic resizers work when you only need to make images proportionally smaller. When you need exact dimensions across different aspect ratios, consistent product placement, natural background expansion, higher resolution and multiple outputs, you need more than conventional pixel resizing.
How We Tested the Four Bulk Image Resizers
We wanted a practical test, not a feature-page comparison. Each tool received the same mixed batch:
- Product-only photos
- Lifestyle images with the original scene intact
- On-model fashion images
- Different source resolutions
- Similar - but not identical - portrait aspect ratios
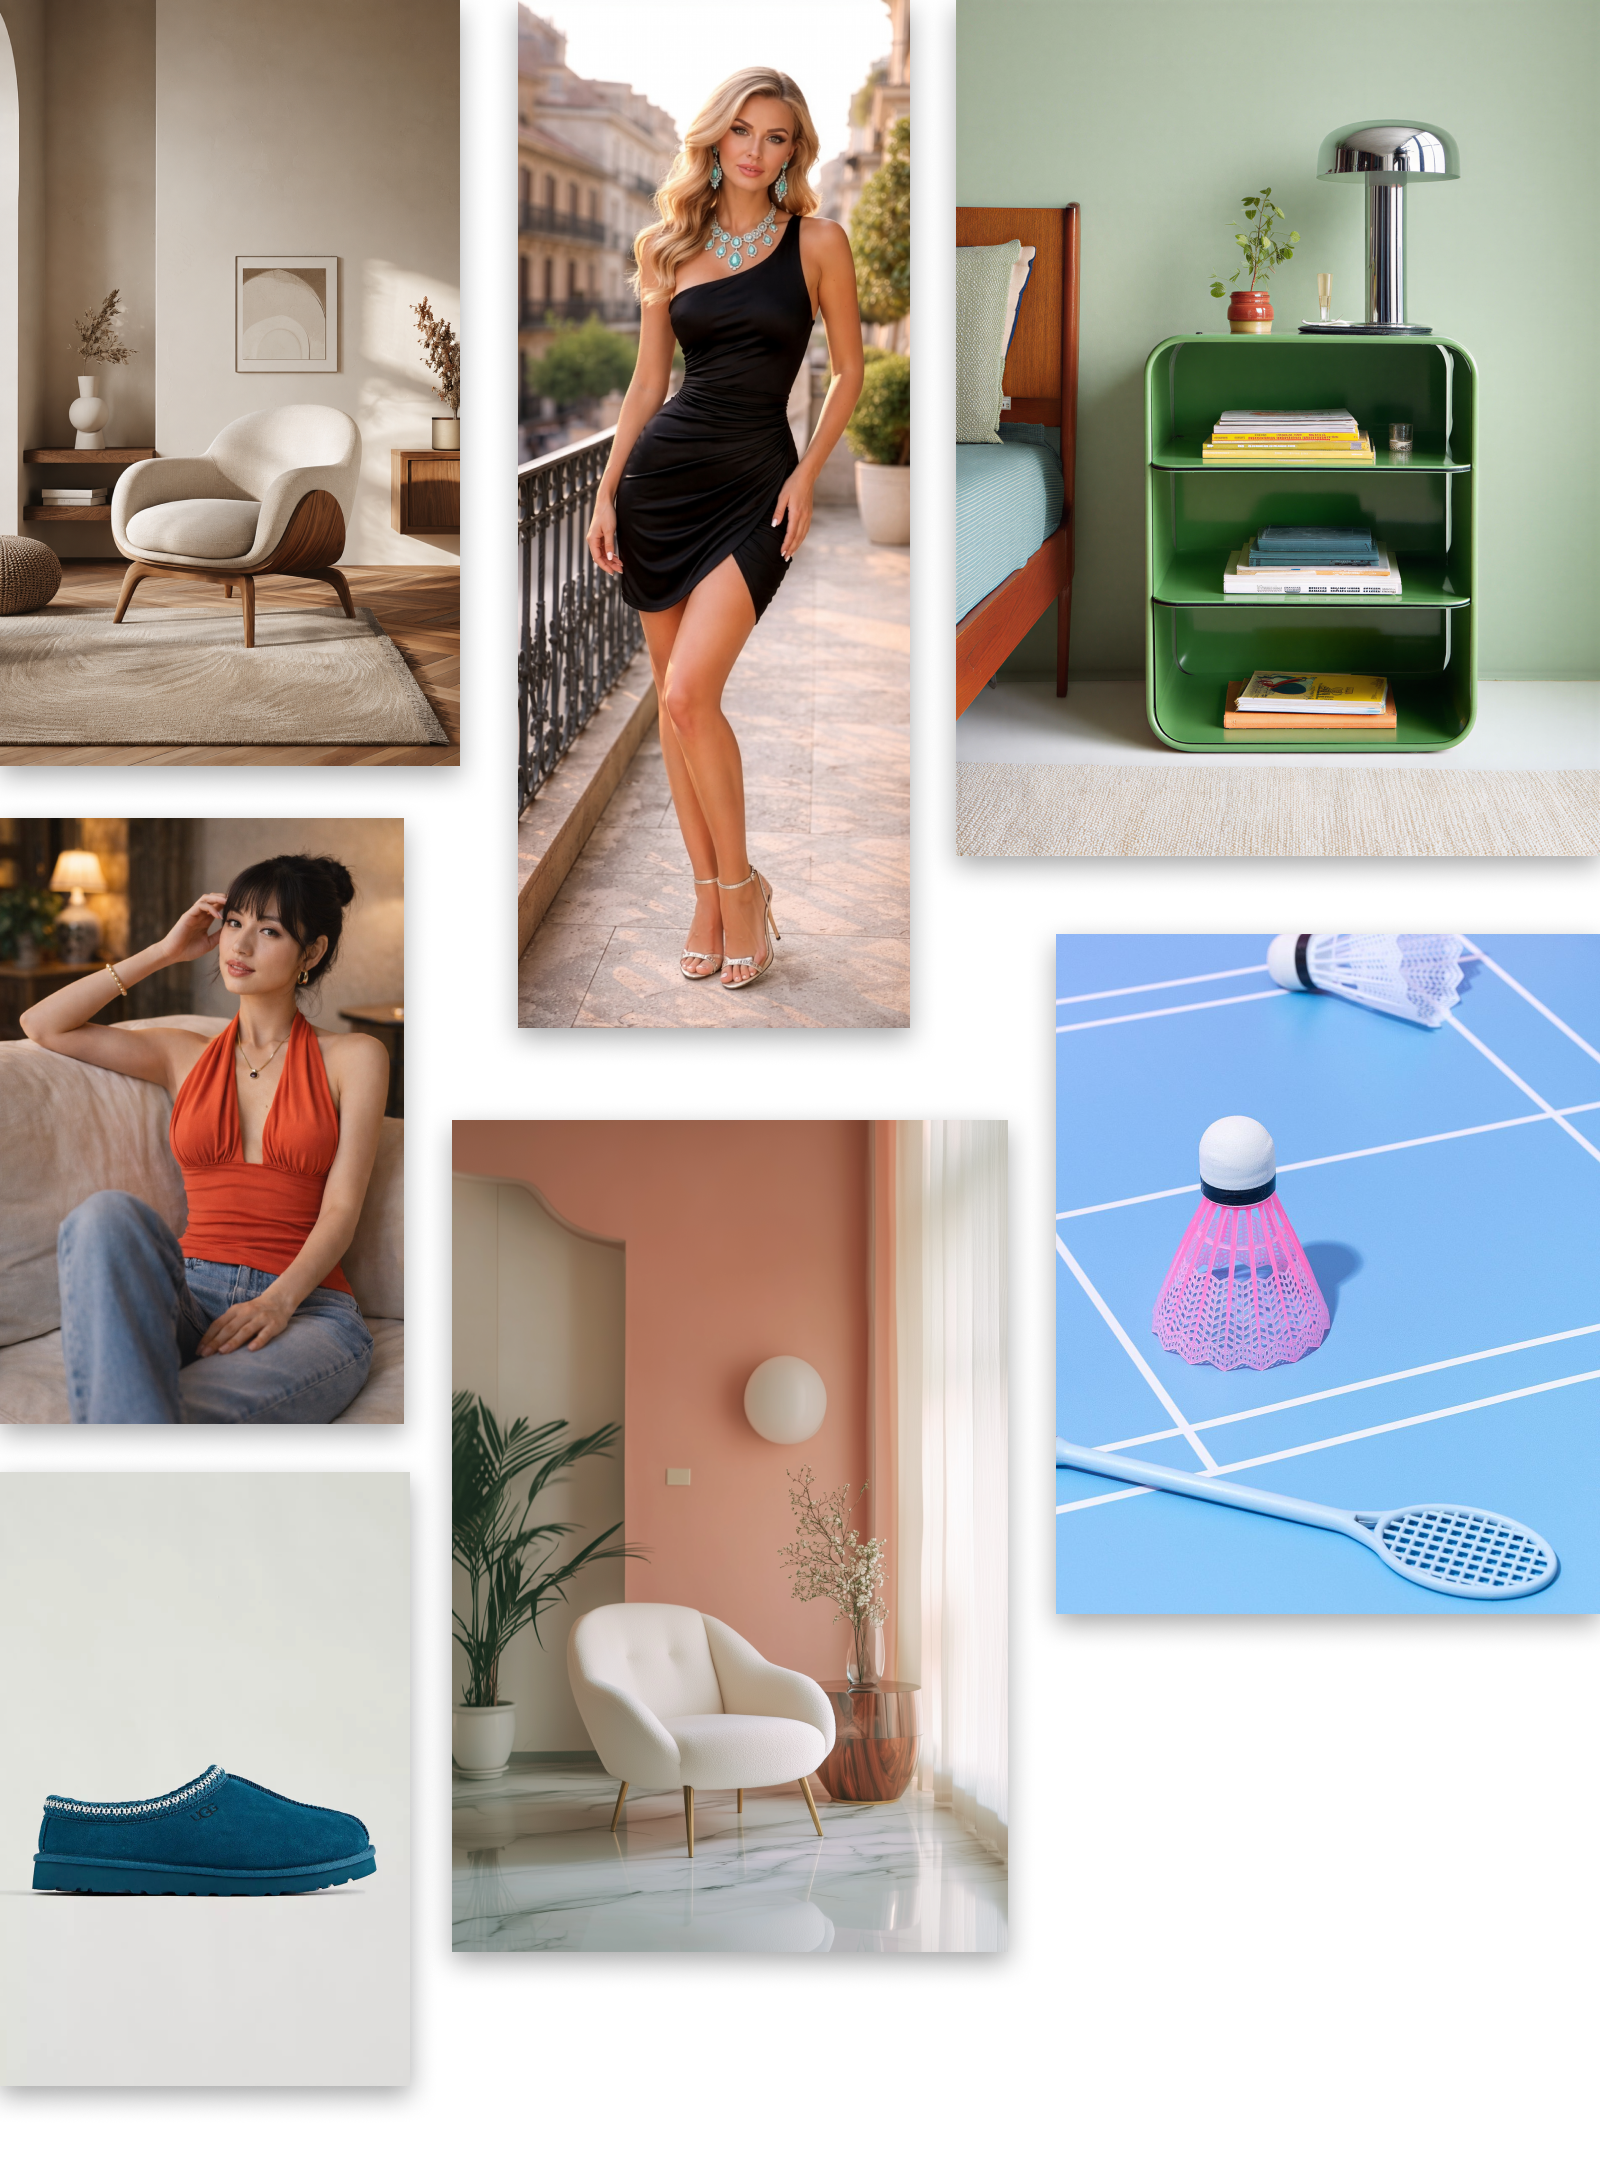
The main requested output was 3000 × 4000 pixels, or a 3:4 aspect ratio. We also checked whether a tool could produce an additional square (1:1) output without requiring a second run.
We evaluated every result against 5 questions:
1. Did the tool deliver the exact requested dimensions?
2. Did it preserve the product or model without stretching or unwanted cropping?
3. Could it handle the missing canvas area by expanding the background?
4. Could it upscale the low-resolution inputs cleanly?
4. Could it create multiple channel-ready sizes in one batch?
Where possible, we kept optional settings at their defaults. The goal was to see what an ecommerce team would receive from a normal workflow - not what could be achieved after manually repairing every image.
Bulk Image Resizer Comparison: Results at a Glance
These results apply to our test batch and the settings shown in the accompanying video. Tools and features can change, so run a representative sample of your own catalog before committing to a production workflow.
Tool 1: Bulk Resize Photos Preserved the Images but Missed the Dimensions

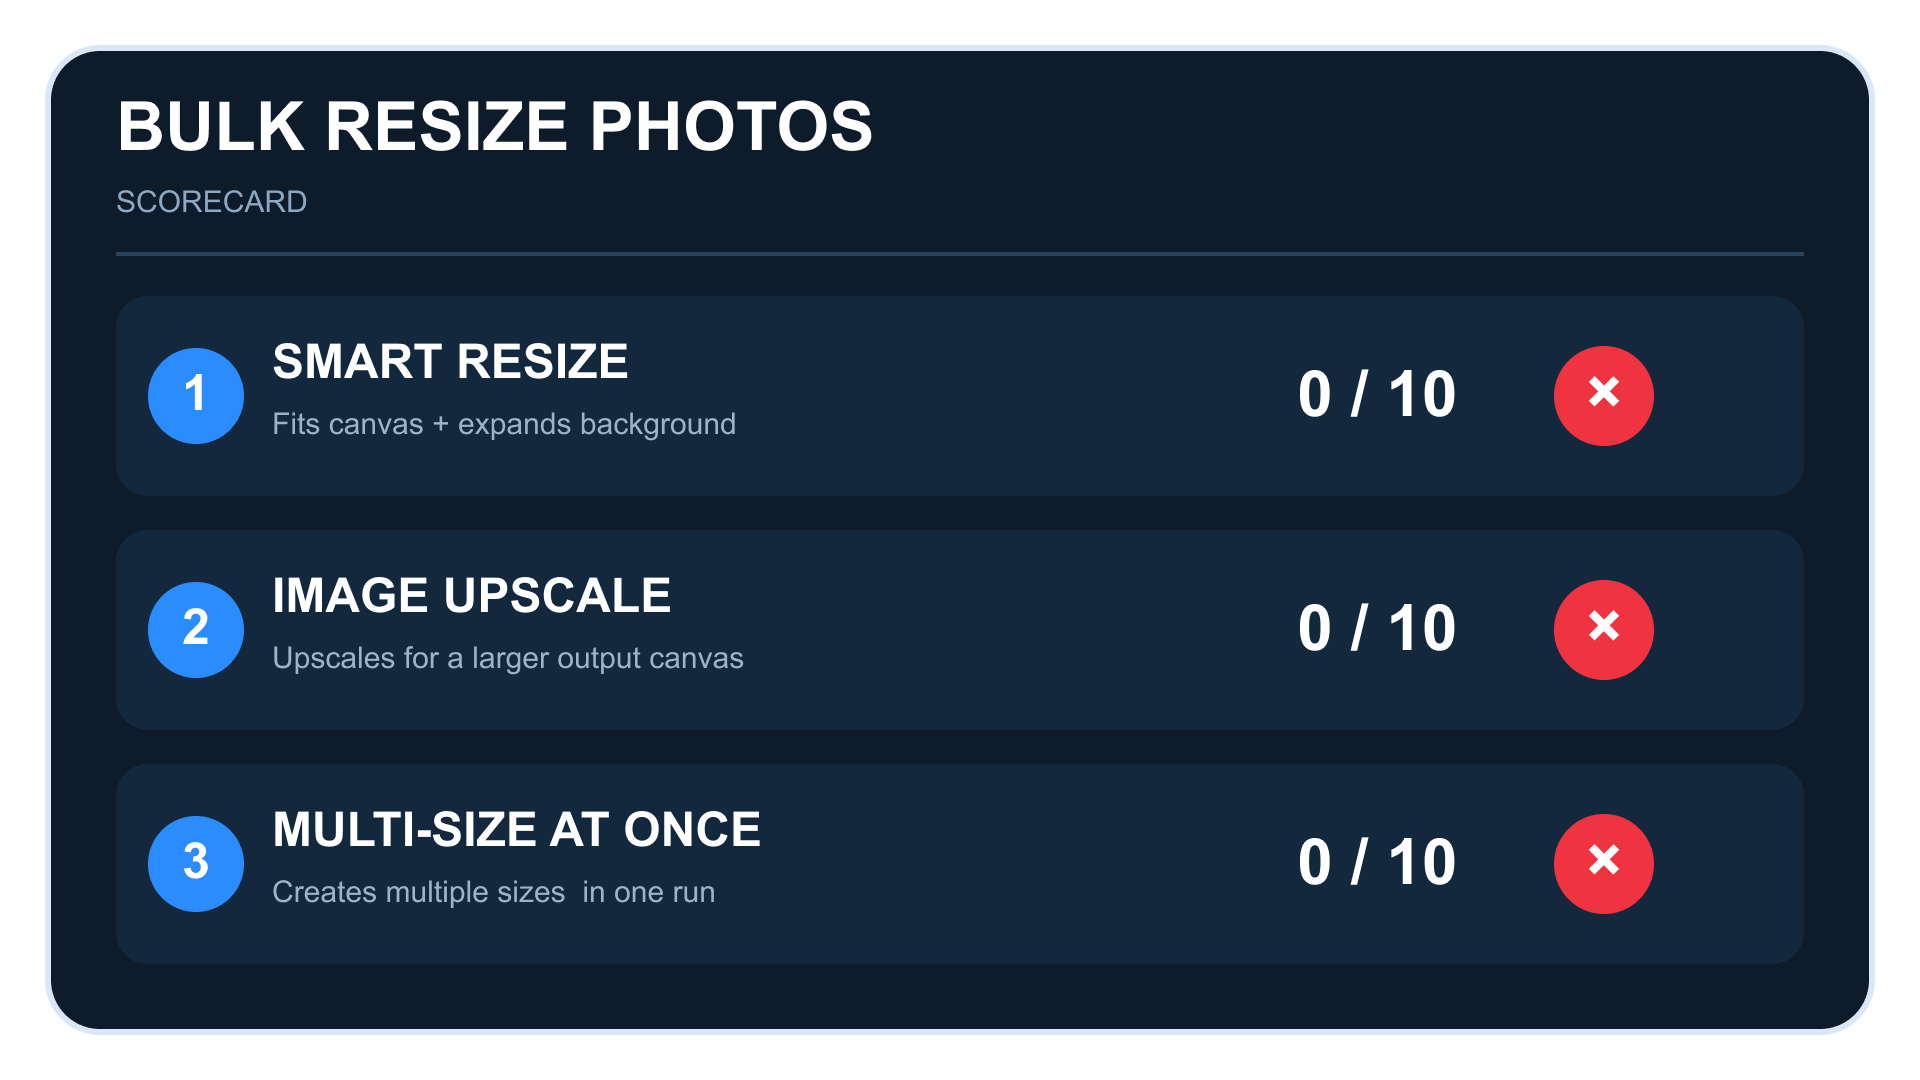
Bulk Resize Photos is fast and straightforward. We uploaded the batch, entered a target of 3000 × 4000 pixels and processed the files with the remaining options left at their defaults.
The images were not visibly stretched, which is important. But they did not all arrive at the requested 3000 × 4000 dimensions. Some outputs had unexpected pixel dimensions because the tool preserved the original aspect ratio instead of adapting the composition to the new size.
That behavior is reasonable for simple proportional resizing. It prevents distortion by changing the image scale without inventing or removing composition. But it creates a problem when a retailer, marketplace, D2C template or campaign placement requires an exact canvas size.
In our test, Bulk Resize Photos also lacked the other production capabilities we needed:
- No natural background expansion
- No AI upscaling for smaller source files
- No multiple output sizes from one run
Best suited for: Quickly making a group of images proportionally smaller when exact dimensions and new aspect ratios are not required.
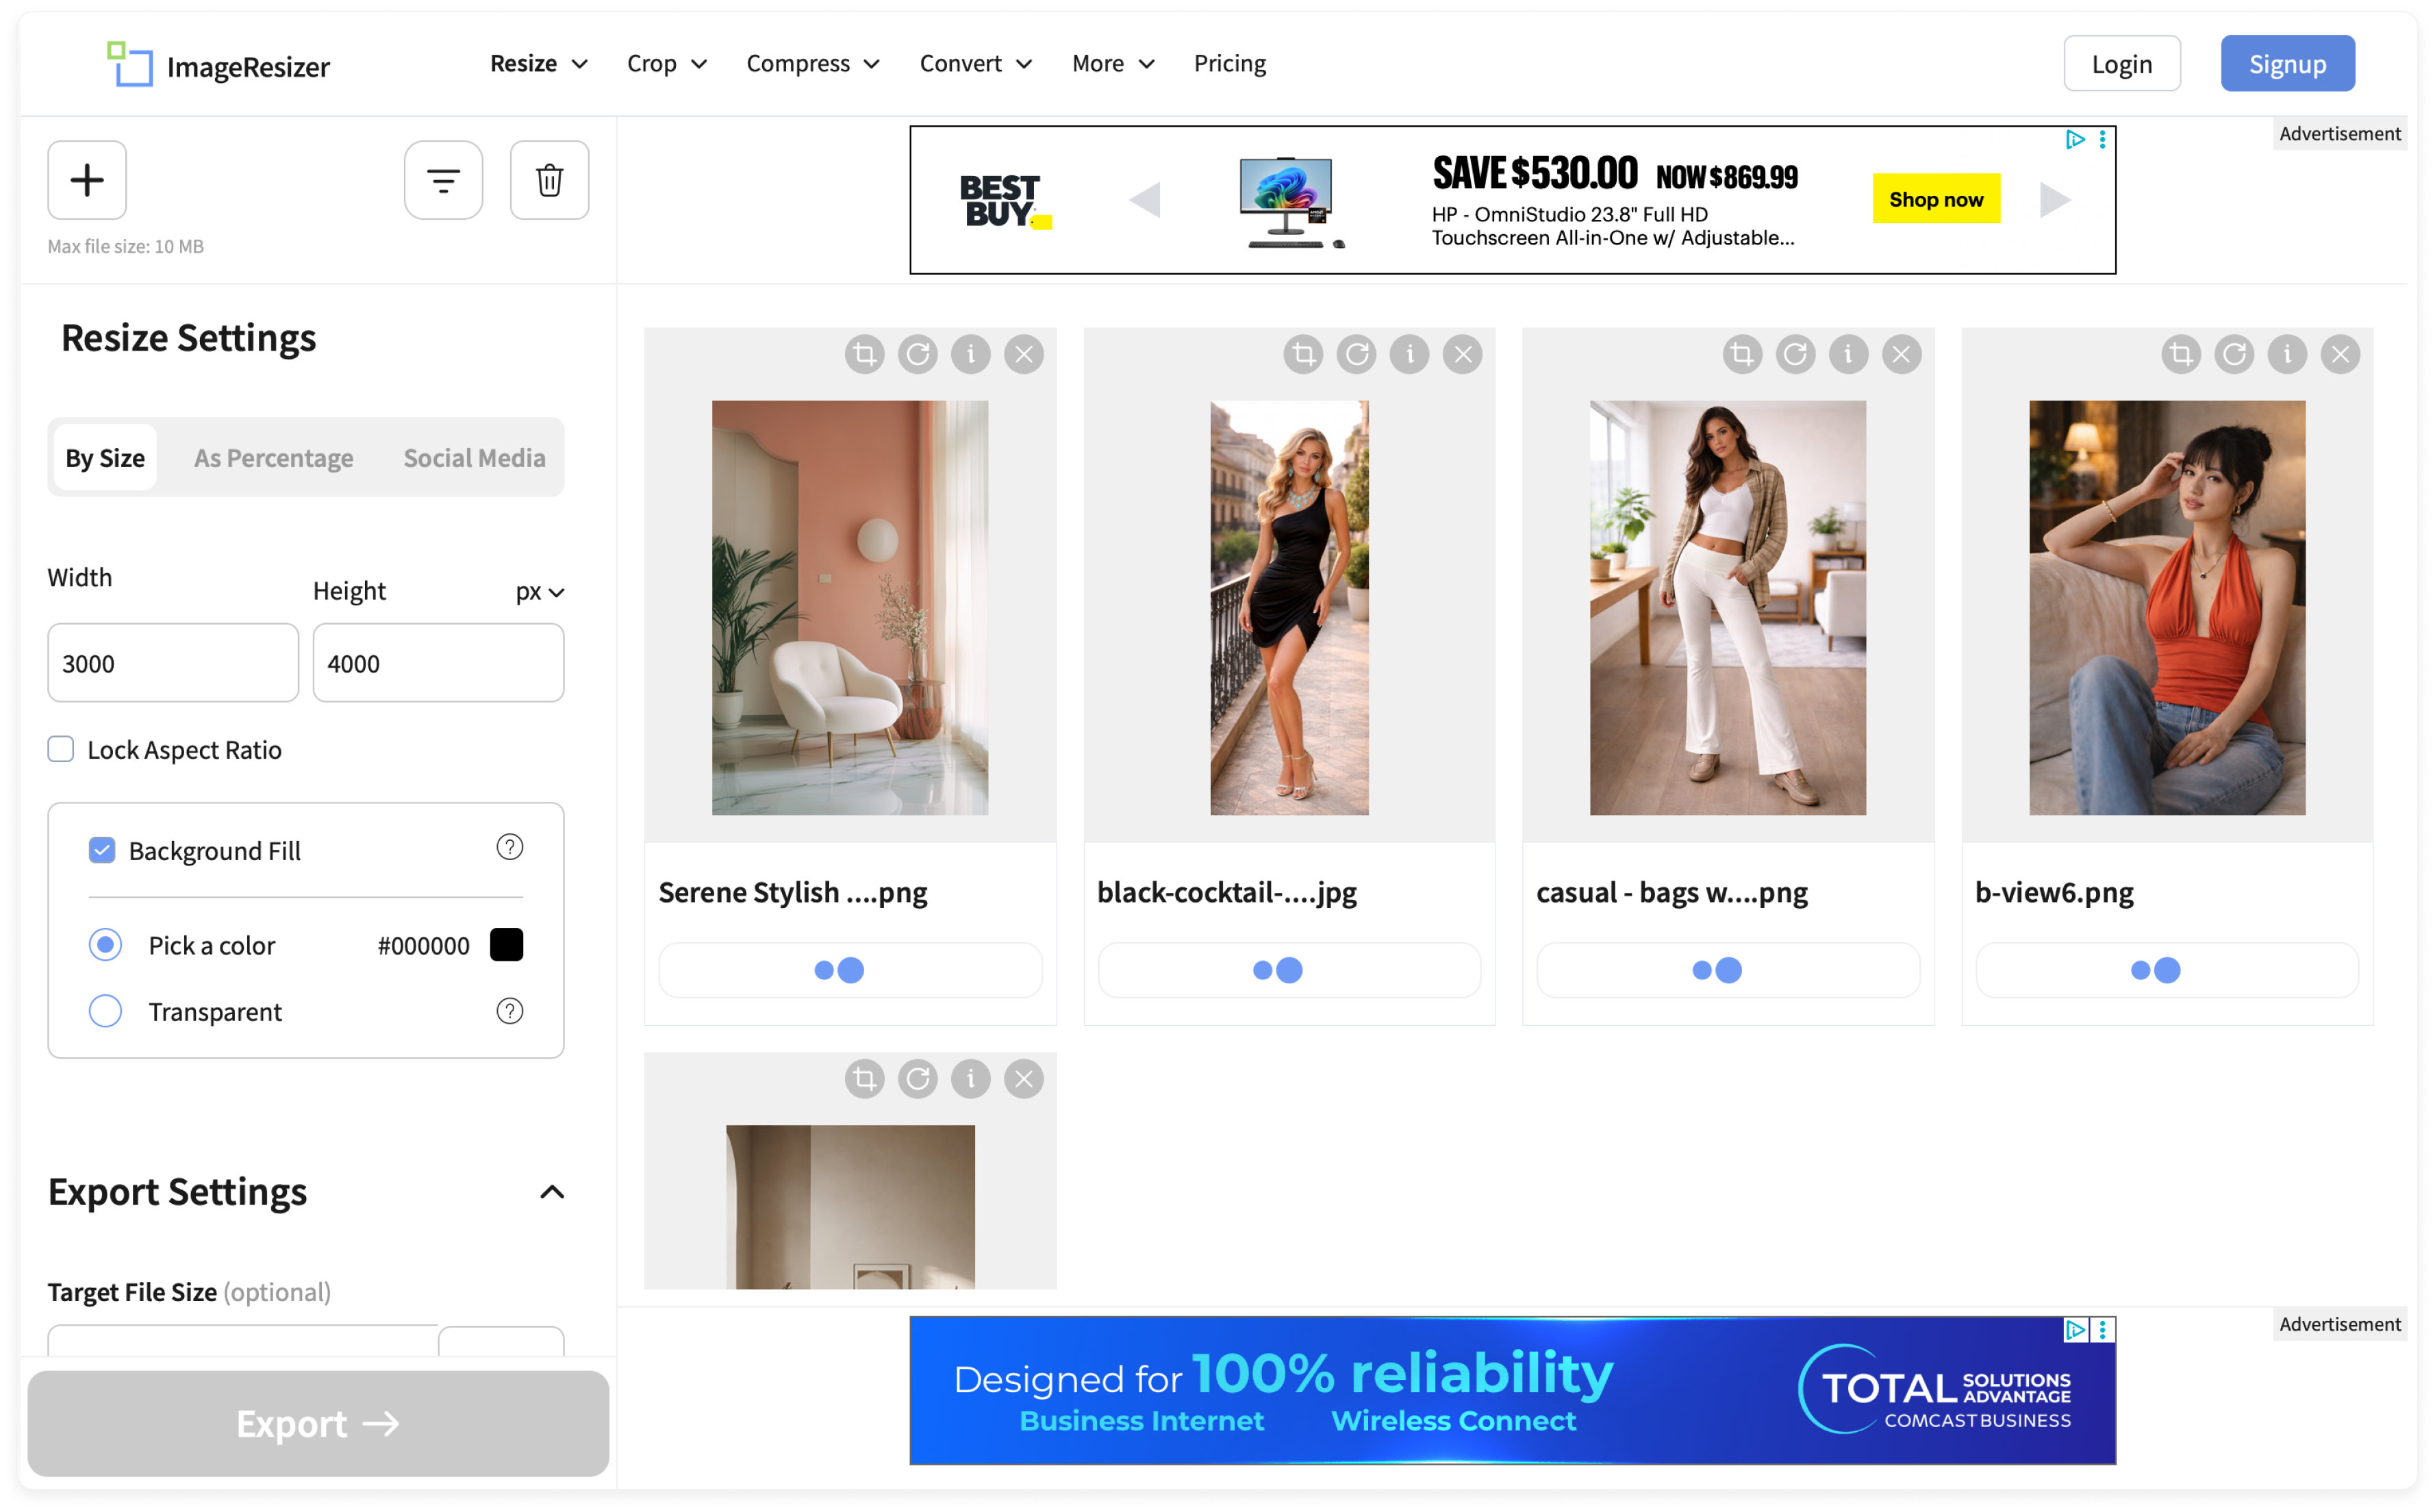
Tool 2: ImageResizer.com Reached the Canvas Size with Black Bars
Next, we tested ImageResizer.com. We entered the same 3000 × 4000 target and disabled the aspect-ratio lock so the tool could create the requested output canvas.
The resulting files reached the target dimensions, but all of the images contained black bars where the source composition did not fill the new aspect ratio. The product itself remained intact, yet the surrounding canvas was not suitable for a finished product listing.

This illustrates the difference between filling a canvas and expanding an image. A conventional tool can add pixels around the source using a solid color. It cannot necessarily expand a studio or lifestyle background so that the extension looks like part of the original photograph.
We also found that we would need to repeat the workflow for each additional output size. The tested workflow did not upscale smaller images or produce several aspect ratios in one pass.

Best suited for: Utility resizing where solid-color padding is acceptable and only one output dimension is needed.
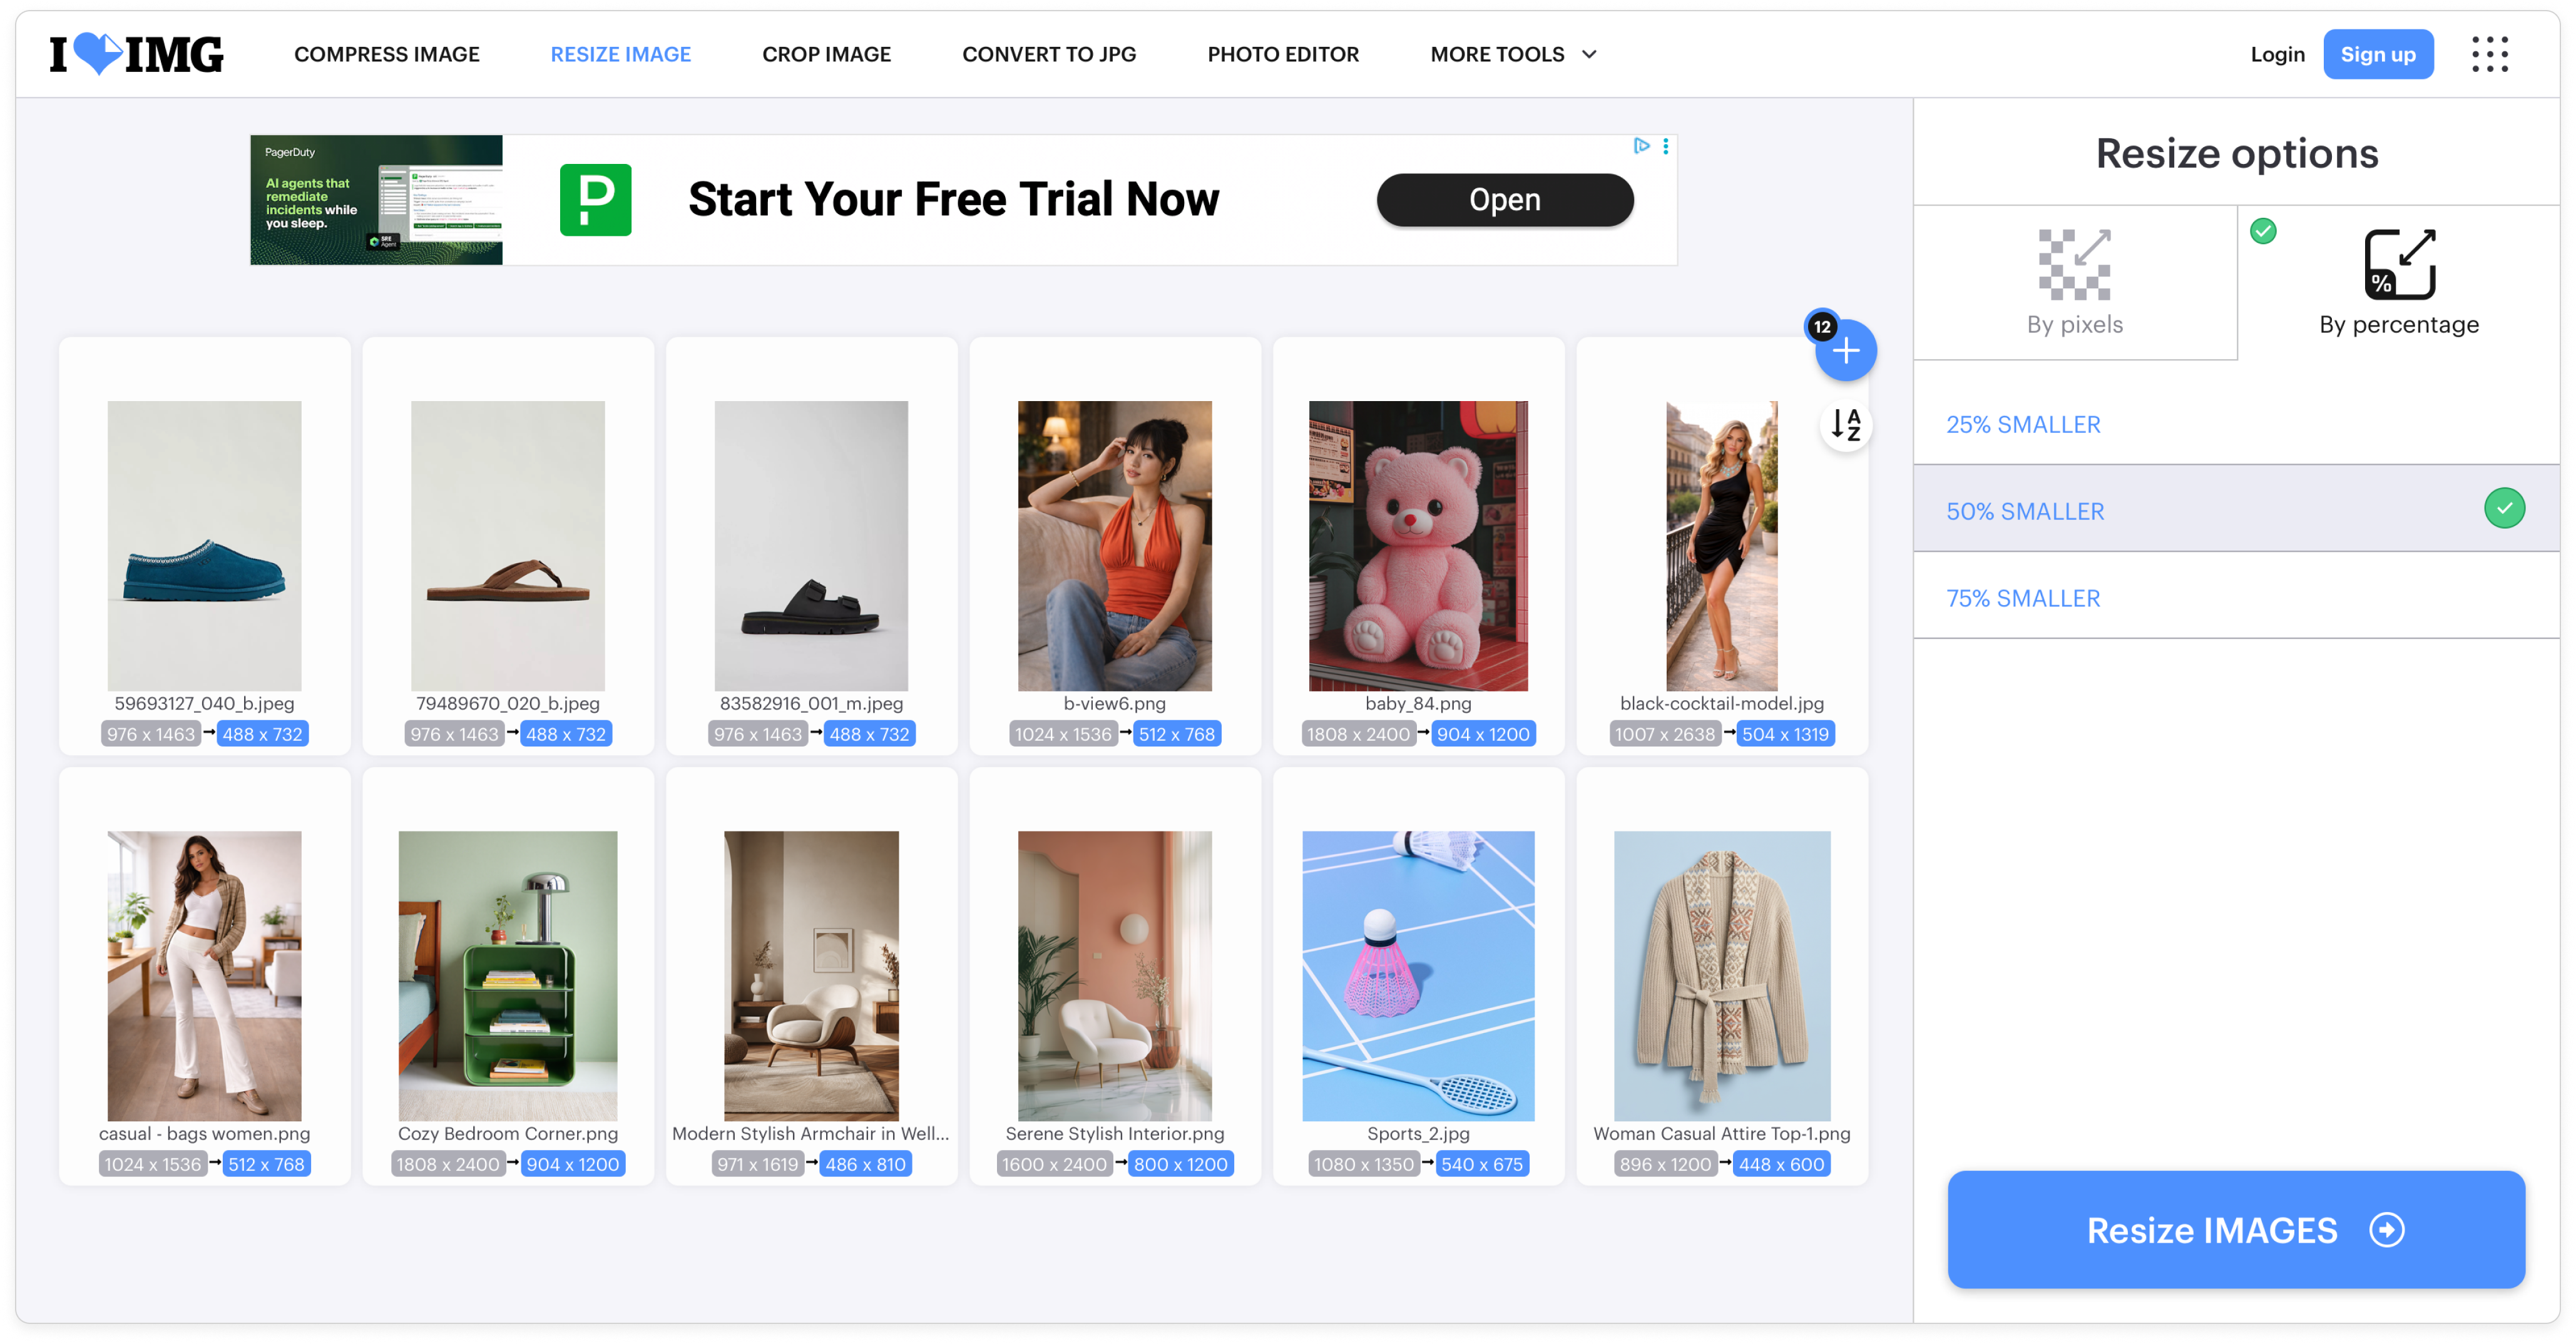
Tool 3: iLoveIMG Delivered the Dimensions by Stretching the Product
iLoveIMG successfully produced a 3000 × 4000 canvas. However, changing the canvas aspect ratio without preserving the image aspect ratio caused the contents of the tested images to stretch.
The effect was especially obvious on on-model and on narrower product photographs. The canvas technically passed the dimension check, but the product proportions no longer matched the original. That makes the output unusable for ecommerce, where shape, fit and visual accuracy influence what a customer believes they are buying.

Keeping the aspect ratio locked would avoid the distortion, but it would return us to the earlier problem: the image would not naturally fill the required aspect ratio or canvas size. A production workflow must resolve both requirements- not trade one failure for another.
The tested workflow also generated one size at a time and did not provide the background expansion or AI upscaling needed for our mixed-resolution catalog.

Best suited for: Simple resizing and compression when the source and destination use the same aspect ratio.
Tool 4: Crop.photo Resized, Reframed and Upscaled the Batch
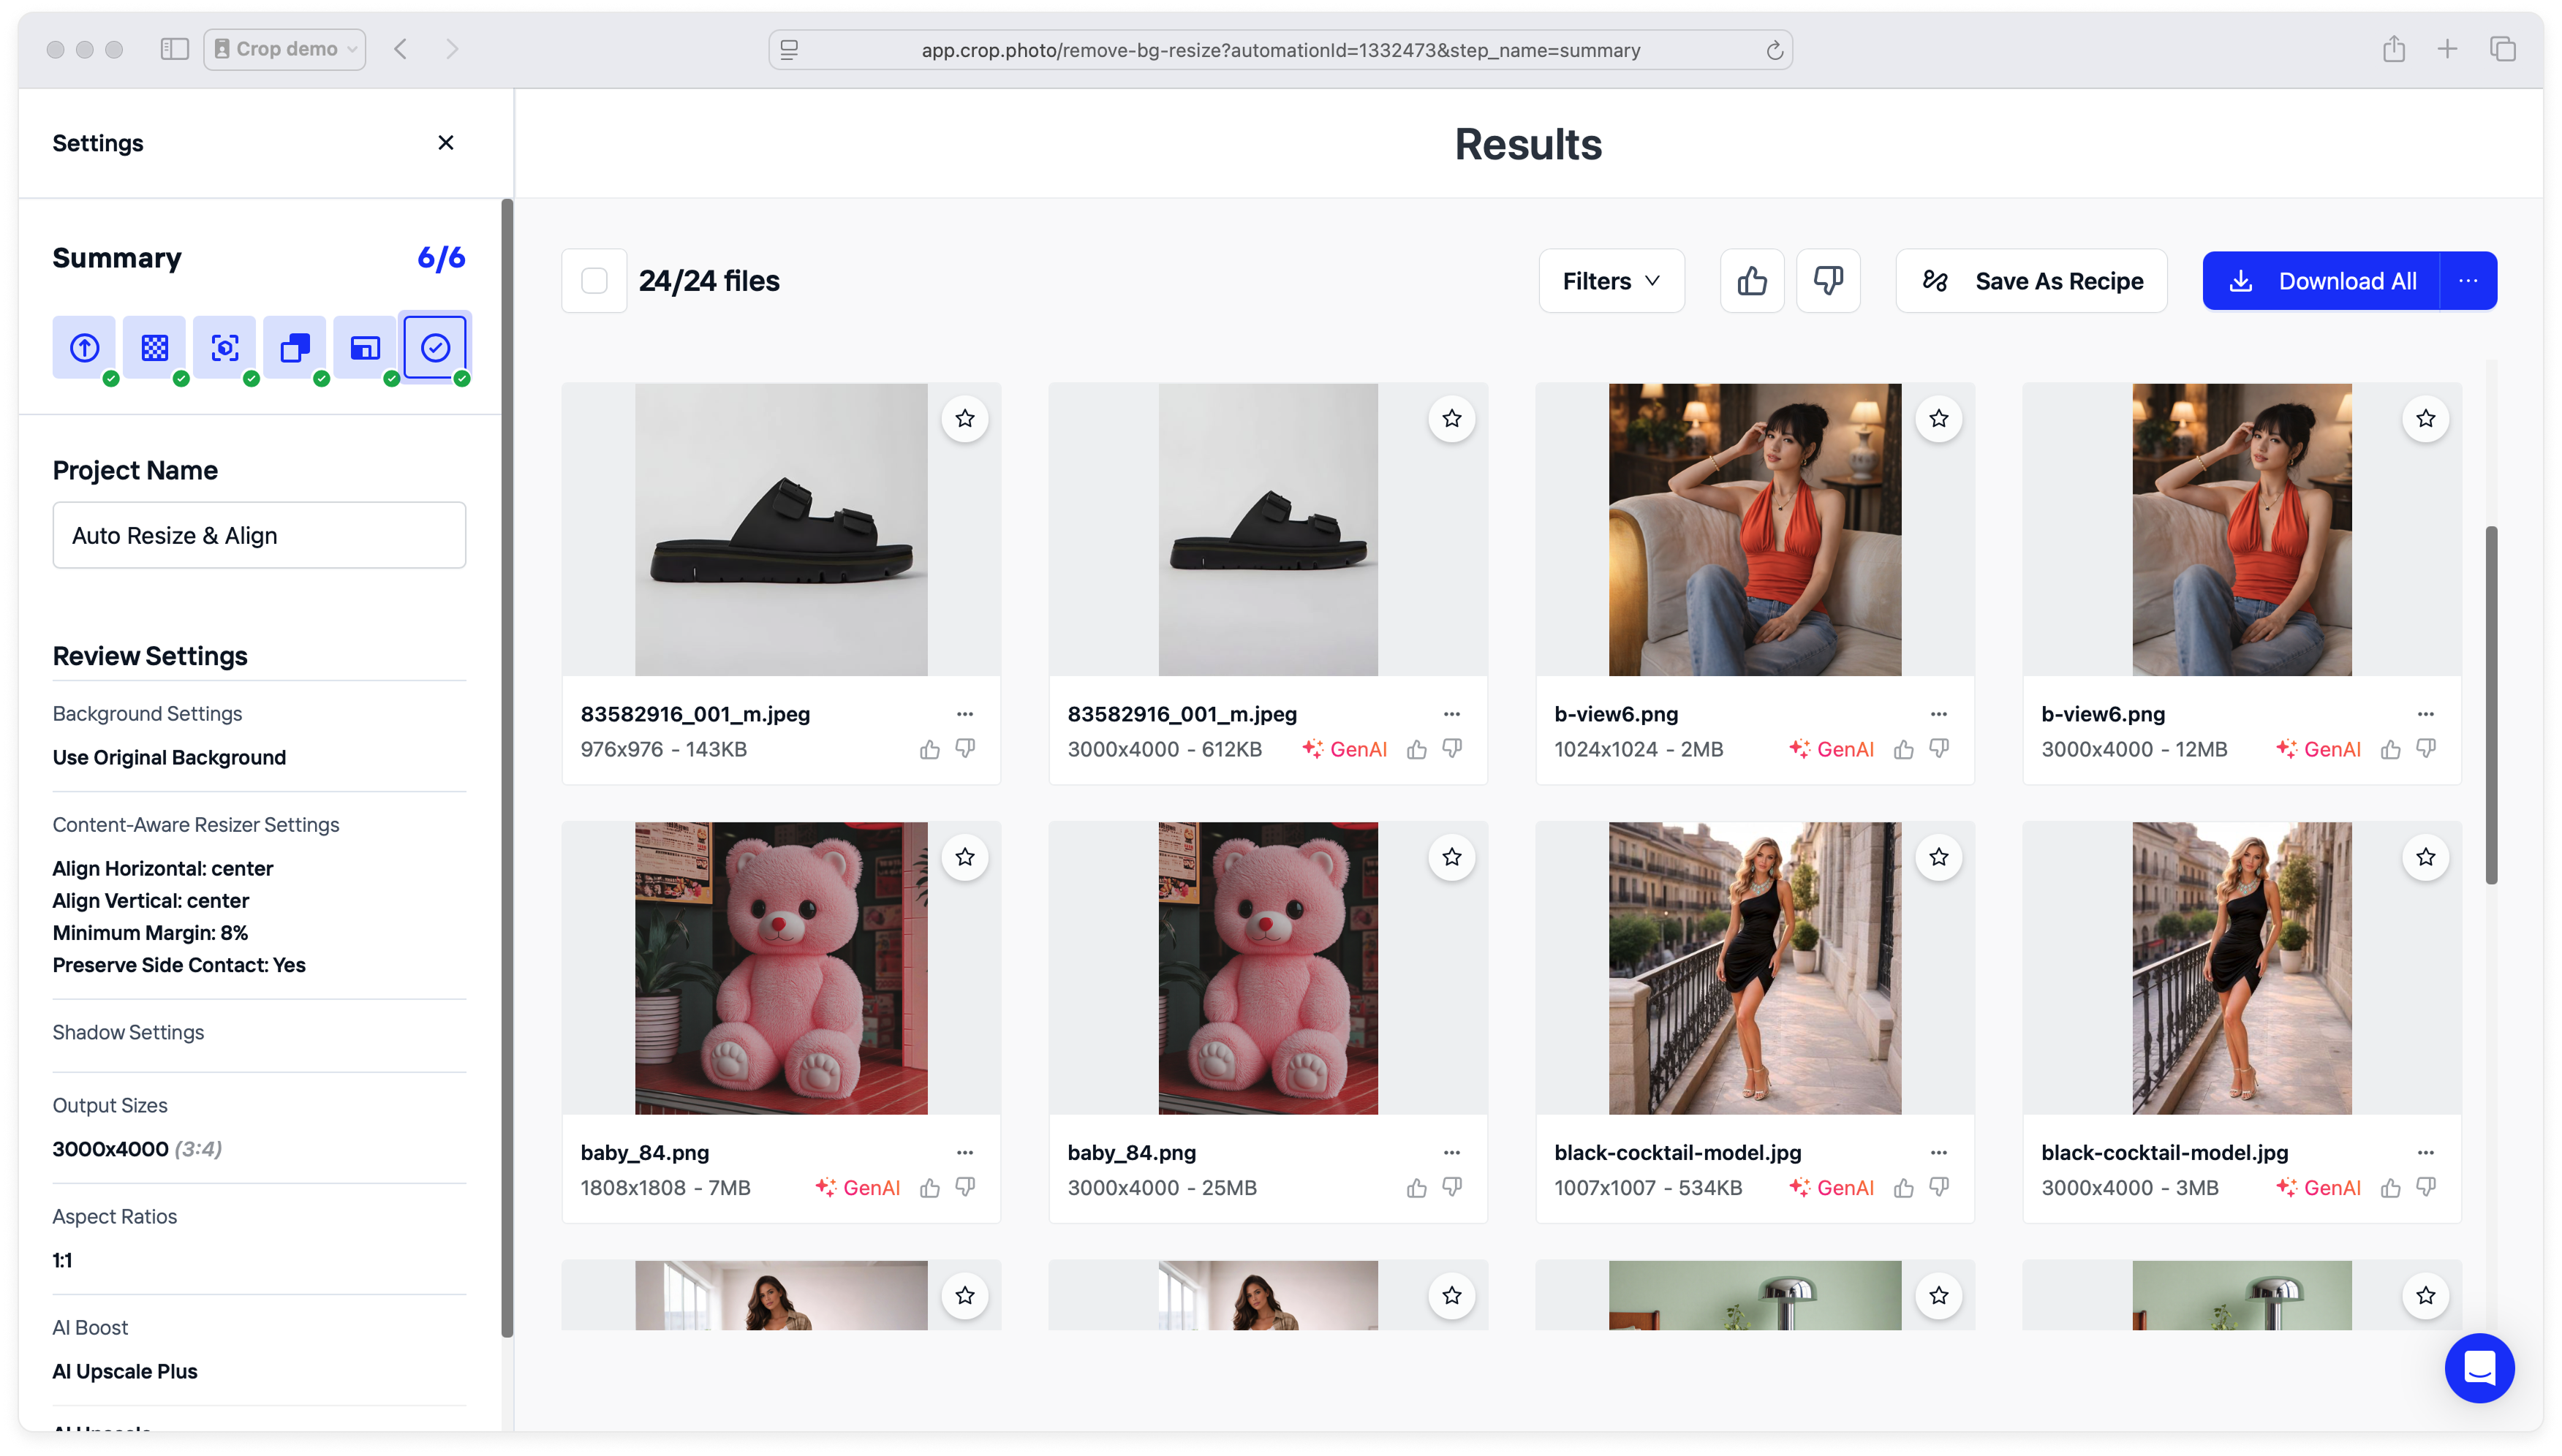
For the final test, we used Crop.photo's Auto Resize and Align workflow. We uploaded the same images and configured the workflow to:
- Preserve the original backgrounds
- Apply consistent margins around each subject
- Create a 3000 × 4000 output
- Create an additional 1:1 square output in the same run
- Use AI upscaling on lower-resolution sources
Crop.photo delivered the exact requested dimensions while keeping the products and models in proportion. Where the new aspect ratio required more canvas, it expanded the existing background instead of stretching the subject or adding a visible bar. The products were also consistently positioned within each frame.
Both 3:4 and 1:1 results were generated from the same batch. That matters when one source photograph must supply assets for a D2C product page, wholesale portal, marketplace, social post and advertising placement.

The practical difference is that Crop.photo treated the requested width and height as an asset-production requirement, not merely a pixel calculation. Resizing, alignment, background completion, upscaling and multiple outputs became one reusable workflow.

Best suited for: Ecommerce teams, wholesale brands, retailers, marketplaces, studios and agencies that need finished, consistent assets at catalog scale.
Why Exact Dimensions Are Only Part of the Job
A file can be exactly 3000 × 4000 pixels and still fail visual QA. Before choosing a bulk photo resizer, separate the operations hidden inside the word “resize.”
Resizing changes pixel dimensions
Traditional resizing makes an image larger or smaller by adding or removing pixels. Making an image smaller is generally less risky. Making it significantly larger can reveal softness or pixelation because the software must create pixel data that was not present in the source.
Cropping changes what remains in the frame
Cropping can create a new aspect ratio by removing content. That may work for a centered packshot with generous space. It becomes risky when it cuts into a model or a product such as a garment, piece of furniture or important lifestyle context.
Padding changes the canvas, not the scene
Adding a solid border can achieve an exact width and height without distorting the product. But a black or mismatched bar is rarely a finished ecommerce result.
Background expansion creates missing scene area
AI-assisted background expansion continues the background into the new canvas while preserving the subject. This is especially helpful when adapting portrait images to square layouts or turning a single lifestyle image into several channel formats.
Upscaling addresses resolution - not composition
Upscaling adds detail and pixels so a low-resolution image can meet a larger output size without looking excessively soft or pixelated. It does not reposition the product, create consistent margins or adapt the image to a different aspect ratio. Those adjustments require separate cropping, alignment or background expansion.
What Ecommerce Teams Should Look for in a Batch Image Resizer
The right tool depends on where the images are going. For catalog production, check more than the upload limit and target width.
Exact dimensions without distortion
Confirm that the output meets the required pixel dimensions while keeping the product's shape and proportions intact. Test objects with recognizable geometry - furniture, bottles, footwear and on-model clothing make stretching easy to spot.
Consistent subject scale and margins
Two files can share the same dimensions while displaying products at noticeably different sizes. Consistent margins and alignment make product grids easier to scan and reduce the need for manual repositioning.
Several outputs from one source
A single product photograph may need square, portrait and landscape aspect ratio or size variations. A multi-output workflow avoids uploading and processing the same catalog repeatedly.
Support for mixed source material
Real catalogs are rarely uniform. Images may come from internal studios, suppliers, agencies, old photoshoots or user-generated content. Test the workflow with varied resolutions, orientations, backgrounds and subject types.
A review step for exceptions
Automation should eliminate repetitive work, not eliminate judgment. Review difficult edges, reflective products, unusual poses, text, props and complex backgrounds before publishing the complete batch.
How to Resize Multiple Product Images with Crop.photo
Choose a Bulk Resize Recipe for Your Image Type
Different photographs need different resizing strategies. Rather than forcing every asset through the same crop, start with a recipe designed for the content.
- Mixed product catalogs: Explore Bulk Resize and Crop Product Images to create channel-ready sizes and aspect ratios in batches.
- Lifestyle images with meaningful backgrounds: Use Product Align—Keep Original Background to standardize framing without removing the scene.
- On-model fashion photography: Try the Model Image Resizer to create square outputs without cropping the model out of frame.
- Furniture and room scenes: Use Furniture Lifestyle Resize to adapt wide or contextual imagery while retaining the surrounding environment.
- Low-resolution supplier or legacy images: Use AI Image Upscale 4X before or alongside standardization.
Bulk Image Resizing Best Practices
Use these practices to protect image quality, avoid unnecessary rework and keep large resizing jobs organized:
- Keep the original files Export resized assets to a new location or use a naming convention that prevents accidental overwrites.
- Start with the best available source AI upscaling can help, but it cannot perfectly reconstruct detail that was never captured.
- Match the file format to the destination JPEG is efficient for most photographic ecommerce imagery. PNG is useful when transparency is required. Modern formats such as WebP or AVIF can reduce web delivery size when the destination supports them.
- Do not confuse dimensions with file weight A 2000 × 2000 image can still be unnecessarily heavy if compression is poorly configured.
- Avoid repeated resizing Generate each destination asset from the best original rather than repeatedly resizing a previously exported file.
- Test difficult images first Include unusual crops, edge contact, fine details, models, reflective surfaces and complicated backgrounds.
- Inspect at actual display size and at 100% One view reveals composition; the other reveals artifacts and lost detail.
From Resized Files to Finished Ecommerce Assets
All four tools in our test could change image dimensions. The difference appeared when the source aspect ratio, canvas, resolution and required outputs stopped matching neatly.
Bulk Resize Photos preserved the image but missed the exact target dimensions. ImageResizer.com reached the canvas by adding black bars. iLoveIMG reached the dimensions by stretching the tested images. Crop.photo produced the target sizes while preserving the subject, expanding the background, upscaling lower-resolution inputs and generating multiple outputs in one batch.
If you only need proportional downscaling, a simple utility may be enough. If you need finished product assets for wholesale, D2C, marketplaces and campaigns, build a workflow that handles the entire frame -not only the pixel count.