Do you have a ton of photos taking up space on your hard drive? You need to check out this guide to bulk resize images!
In this article, we'll give you an overview of bulk resizing and recommend the most efficient tools. We'll also share how to approach bulk image resizing and some tips to help you minimize errors.
Let's get started!

Introduction to Bulk-Resizing Images
Bulk resizing is the process of changing the dimensions of a collection of images without affecting their content. Image resizers achieve this result by increasing or decreasing the number of pixels in the photo.
It’s a great way to save space on your hard drive, make your images more suitable for a specific purpose, or improve their quality.
But what exactly happens during the resizing process?
When you resize an image, the software removes or adds pixels to make the entire image smaller or larger. Most tools use two ways to adjust image size:
- Interpolation: This is the most common method of resizing images. Here, an image resizer works by creating new pixels between the existing ones.
- Nearest neighbor: Alternatively, this method copies the existing pixels to the new size, so it’s faster than interpolation. Yet, it’s more likely to produce images with jagged edges.
Software programs like Adobe Photoshop and GIMP offer various features for bulk-resizing photos. However, they’re more suitable for pro users and can be challenging to grasp by beginners.

On the other hand, online services are more up your alley if you’re looking for a quick fix without much room for customization. We’ll dive deeper into the best candidates in a few!
The Impact of Resizing on Image Quality
When an image undergoes resizing, the tool responsible for the size reduction adds or removes pixels. This process can affect the image's quality in several ways:
The Top 3 Tools for Bulk-Resizing Images
Below are our favorite online tools to bulk reduce image size:
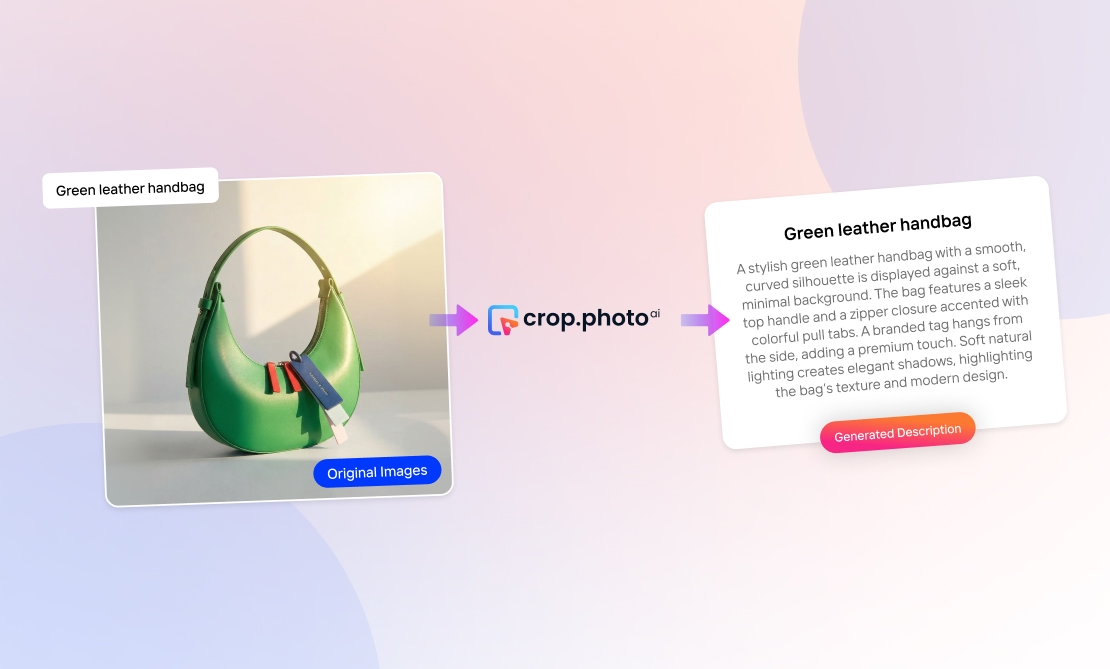
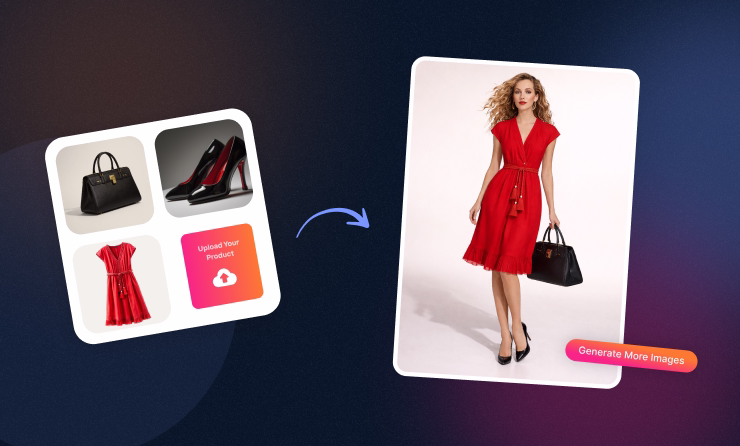
1. Crop.Photo
Crop.photo is an online tool that uses content-aware resizing technology. This feature ensures that your batch of images is resized without losing crucial details.
This program is useful for product images, where you want to make sure the product is always in focus.
Crop.photo also keeps your target aspect ratio in mind before resizing images in bulk. This way, your photos will always have a high quality level on different devices and e-commerce platforms.
For example, if you’re batch resizing images for Instagram, the files should have the correct aspect ratio of 1:1. Crop.photo will automatically do this for you in a snap!
2. Fotor
Fotor Bulk Image Resizer is a free online program that lets you resize multiple images at once. It’s a breeze to use and offers many cool features, including:
- Resize photos by pixels or by choosing from preset image dimensions.
- Add color borders to unify the look of your photos.
- Take advantage of other editing options, such as the batch cropper or background remover.
3. Image Resizer
Image Resizer is a user-friendly option for photographers, designers, and anyone who depends on resizing images in their line of work. It’s straightforward and offers a lot of flexibility.
The tool lets you specify the dimensions of the resized images and the quality of the output.
For instance, you may resize your batches of images to be 100x100 pixels or adjust them to fit a specific aspect ratio. You can also reduce the quality to save space or keep it high.
Your Step-by-Step Guide to Resizing Photos
Now, let’s get down to business! Here’s how to resize images in bulk using a dedicated image resizer:
- Browse your computer for the original files you’d like to reduce the size of.
- You can also use the drag-and-drop function if it’ll make your work easier.
- Resize the selected photos by entering the desired width and height in pixels, or choose from the preset dimensions available.
- Select the desired quality of the output as well as the correct image file type.
- Click the "Resize" button, then download the images when the entire process is complete.
- Save the new, adjusted pictures in a separate folder on your computer.
Tips and Tricks for a Smooth Image Resizing Experience
Whether you’re batch-processing or resizing a single image, here are some additional tips to ensure a hassle-free experience every time:
- Start with a high-quality source image: The higher the quality of the original image, the better it’ll look after you change its dimensions.
- Resize the image by a small amount: The less you resize the image, the less detail you’ll lose.
- Use a lossless resizing algorithm: Using lossless compression is generally better for preserving image quality, but it’ll take longer to process.

Final Thoughts
Bulk-resizing images is a common task that has many purposes. Photo editing pros and beginners use it to save disk space, improve image appearance, or make pictures fit a specific layout.
Finally, you should remember the impact that reducing an image’s size will have on its quality.
Thankfully, you can limit image distortion, blurriness, and loss of detail using a lossless resizing algorithm. Also, make it a priority to use a high-quality source image and try to minimize the number of times you resize a picture.